Character Description
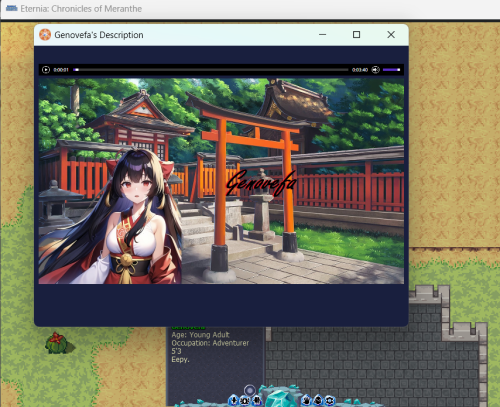
This page will serve as an example of how to setup a character description HTML like you may have seen in-game. You can access in-game character descriptions by right-clicking another player. Clicking on the circle icon on the window that appears will open the 'playby' or long description.
An example of an image description
Basic Guide to Image Descriptions
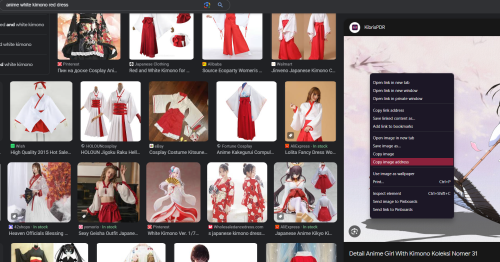
First, you'll need character art. You can enter some basic attributes about your character into Google images' keyword-based search engine to get a few results we might like. For our example character, let's say that she wears a white kimono top and red robe bottoms. We'll google 'shrine maiden with red eyes' or 'anime girl white kimono red dress' and see if we find something we can work with. Remember, it doesn't have to match your character 1:1! This is just a representative artwork that you'll enjoy having as a way for others to visualize your character outside of pixel sprites.
In our keyword search we produced a number of results:
We'll select an image we want, then right click -> copy image address (This may be worded slightly differently depending on your browser)
From there, we have our art! Yay! Now enter it into the YOUR IMAGE HERE portion of the below template:
<img width=100% height=100% src=YOUR IMAGE HERE></img>
So the final product should look like this:
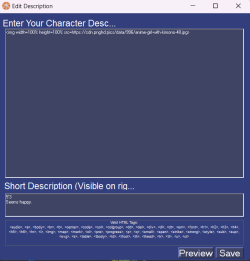
<img width=100% height=100% src=https://cdn.pnghd.pics/data/996/anime-girl-with-kimono-48.jpg>
Note: The 'width' and 'height' properties can be set to regular numbers, numbers with 'px' at the end to indicate exact pixels (though the result is largely the same), or a percentage of the window that contains them. Setting these properties to 100% ensures the image is at it's maximum viewable size no matter what resolution the user viewing it has, or if they have maximized the window or not.
The final step is to open the in-game options cogwheel menu at the bottom of your HUD and select 'change description'.
![]()
From there, a window will appear. This is the UI we'll paste our <img> code we made above. Make sure to add a short description while you're there! Something like your height, and a basic mood your character might be in.
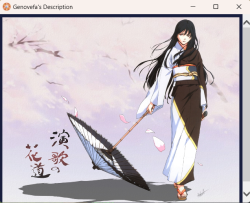
That's it! Now when viewing your character description, other players will see your desired art. You can get fancy with things like adding audio, editing the image using programs like Gimp, and more!
Character Description Templates
You can view other player character descriptions that have been posted in this thread to gain inspiration or to see how different HTML tags work together.
Basic HTML Glossary
Taken largely from this guide. Special thanks to Shian for this list!
Basic Image:
<img src="URL">
Align Image:
<img align="left/right/center" src="URL">
Image Spacing:
X is the amount of space between the image and the text, the larger the number, the more space you get.
<img hspace=X src="URL">
Background Image:
Generally, it'll make a mosaic out of the image. You can put an image of a specific pattern/color, and it'll set it up as a whole background, wow!
<body background="URL">
Background Color:
Replace FFFFFF with a hex color value. Code: <body style=background-color:#FFFFFF>
Font Color:
<font color="#FFFFFF">TEXT</font>
Font Size:
X is how much larger you want it, and can be negative if you want it smaller.
<font size=+X>TEXT</font>
Font Face:
Remember that only people who have said font installed will see it, so using fonts that don't come installed tends to be a bad idea.
<font face="font here">TEXT</font>
You can combine all the font codes into a single code: Clarity is good!
<font size="+2" color="#FFFFFF" face="fantasy">TEXT</font>


